Your Data, Wherever It Lives
Not every business runs on a platform PayHelm connects to natively. Maybe your orders come from a custom-built storefront, a POS system, a marketplace we don't yet support out of the box, or an internal tool your team built years ago. If your data lives in one of the 7,000+ apps Zapier supports, you can now pipe it straight into PayHelm — no engineering sprint required.
PayHelm now supports Zapier webhooks, giving you a flexible, no-code path to get your order and business data into your analytics dashboard.
Step 1: Generate Your PayHelm API Key
Before you can connect a Zapier webhook, you need an API key so PayHelm knows the data belongs to your account. Here's how to grab one:
- Log in to your PayHelm account
- Go to the Integrations page
- Scroll down to API Store Account and click Connect
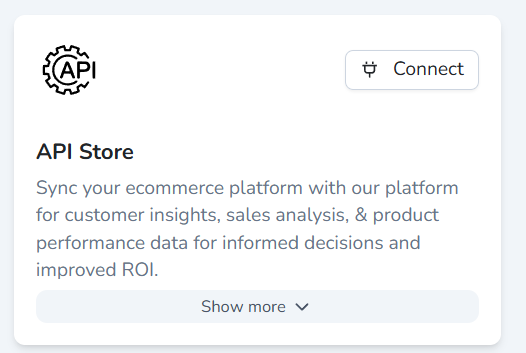
- A window opens where you can configure your API credentials and see the exact specifications for the JSON payload you'll be sending
- Click Generate API Key
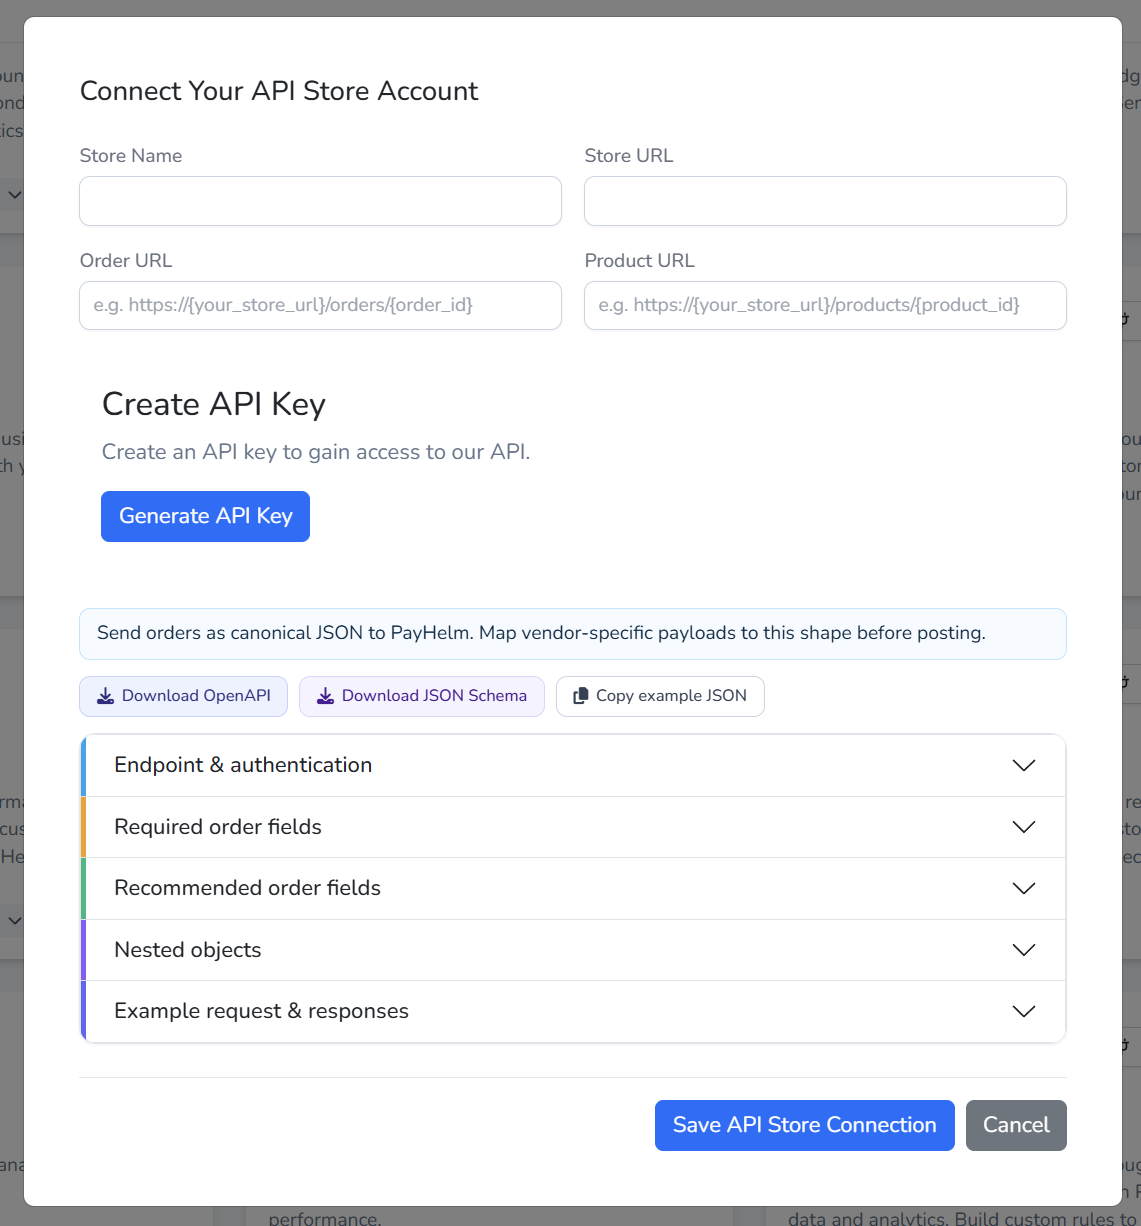
Important: Your API key is only shown once, at the moment you generate it. Copy and save it somewhere secure right away — if you lose it, you'll need to generate a brand new key, since PayHelm won't display the original again.
Step 2: Format Your JSON Payload
PayHelm's API expects a structured JSON payload for every order or record you send. Inside the same popup window from Step 1, you'll find expandable sections that lay out the exact field specifications for the payload — endpoint and authentication, required order fields, recommended order fields, nested objects, and example requests and responses.
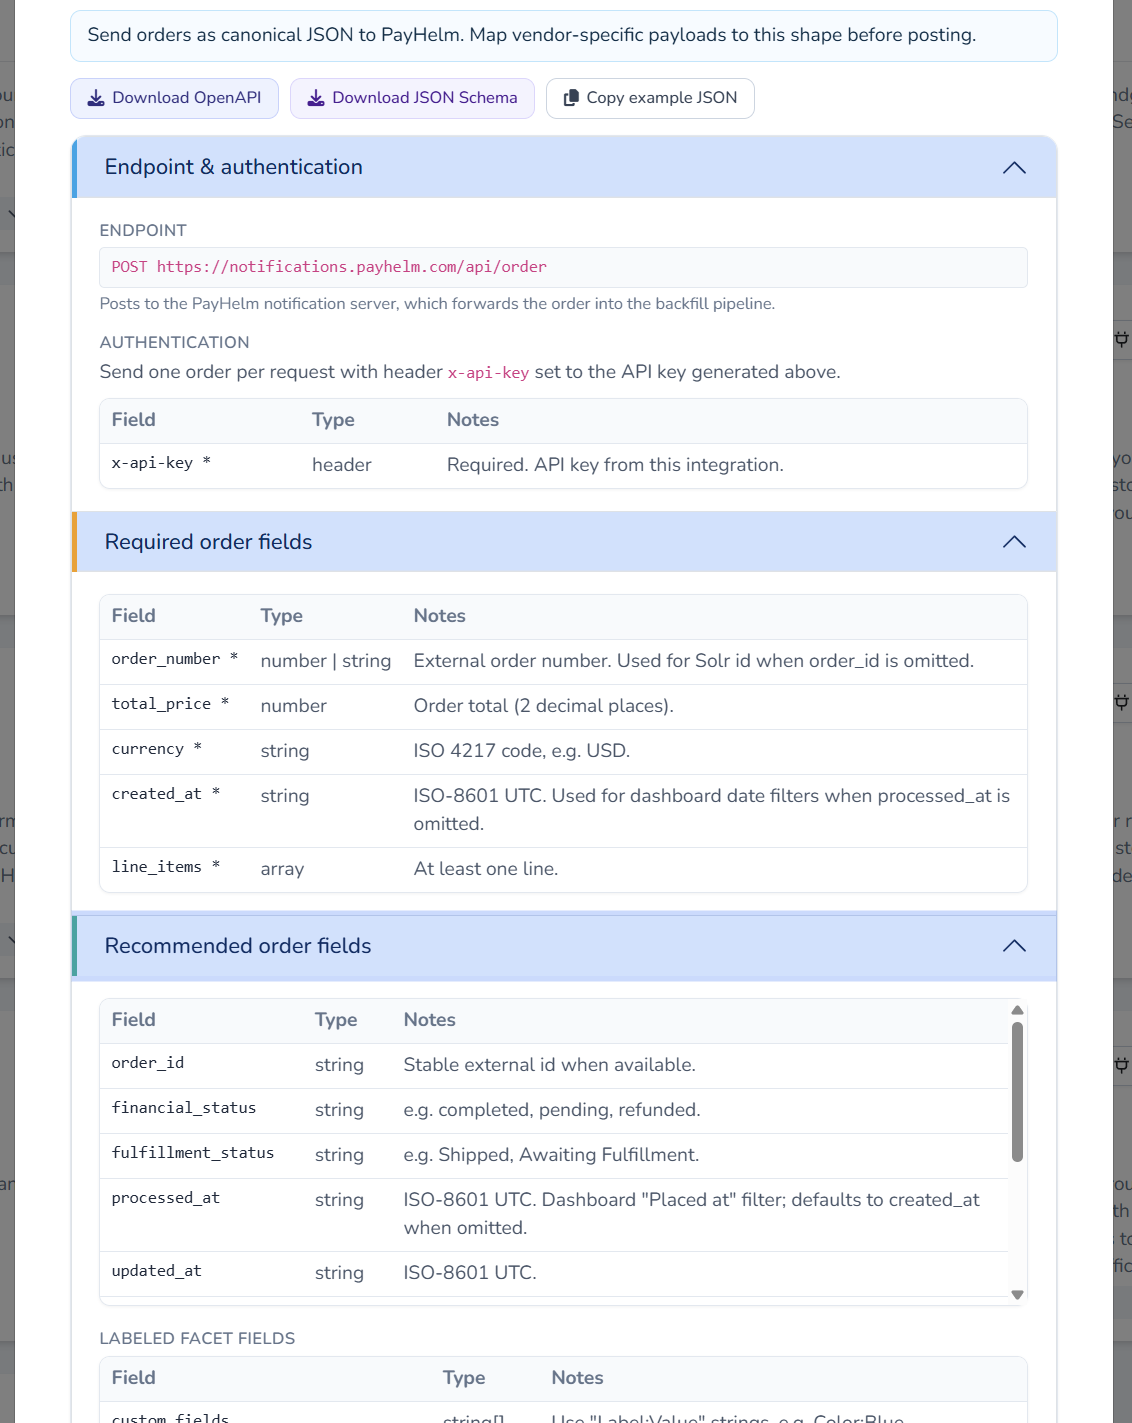
If you're not sure how to translate your own data format into PayHelm's expected structure, here's a shortcut: paste the specification along with a sample record from your own system into an AI agent. Most AI tools can generate a JavaScript snippet you can drop into a Code by Zapier step to reformat your data before it's sent. If you get stuck, reach out to our team — we're happy to help you get it working.
Step 3: Send the Data to PayHelm
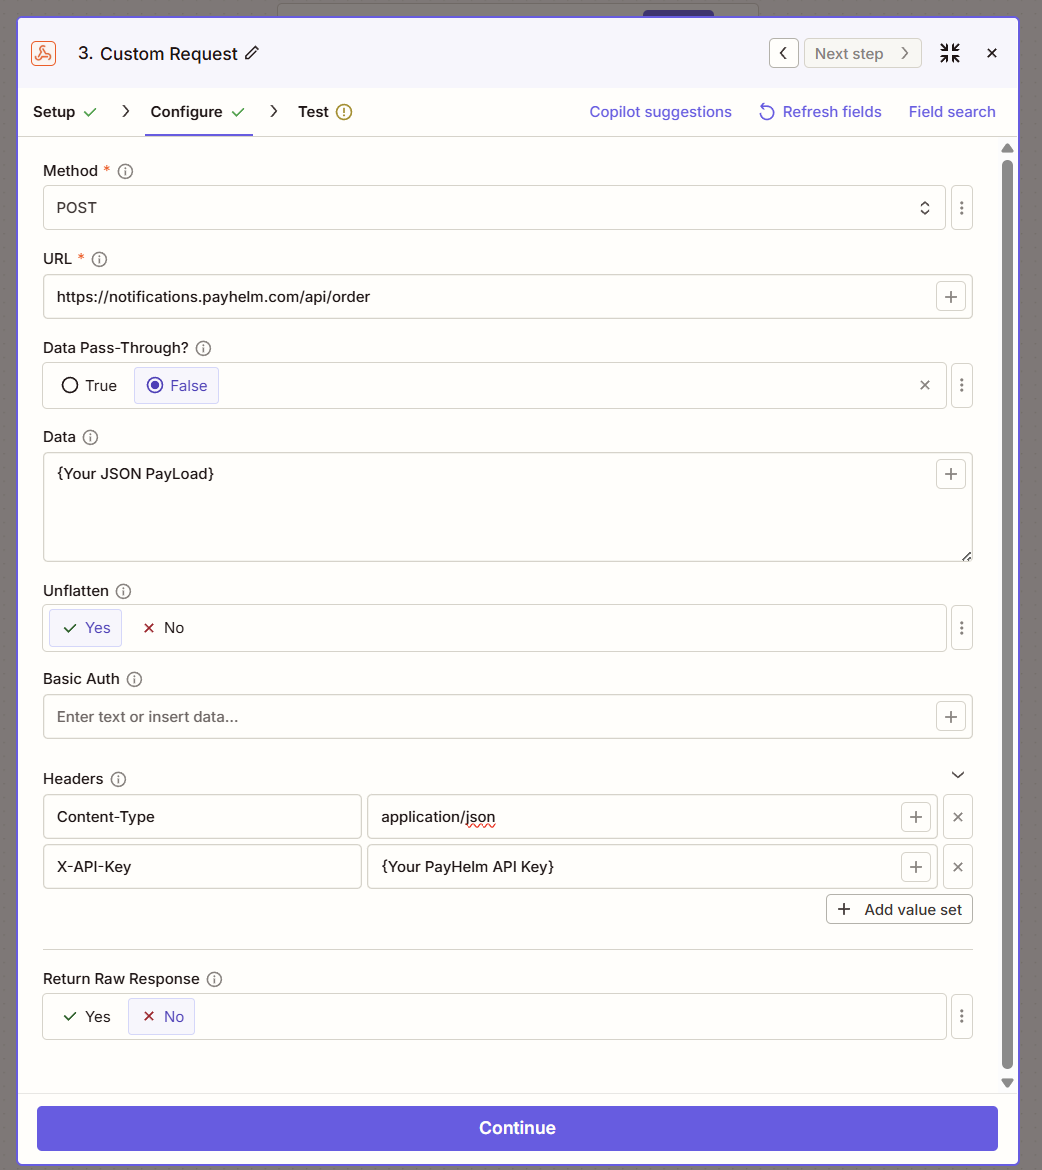
This is the easy part. With your API key ready and your JSON payload formatted, configure a webhook step in Zapier with these settings:
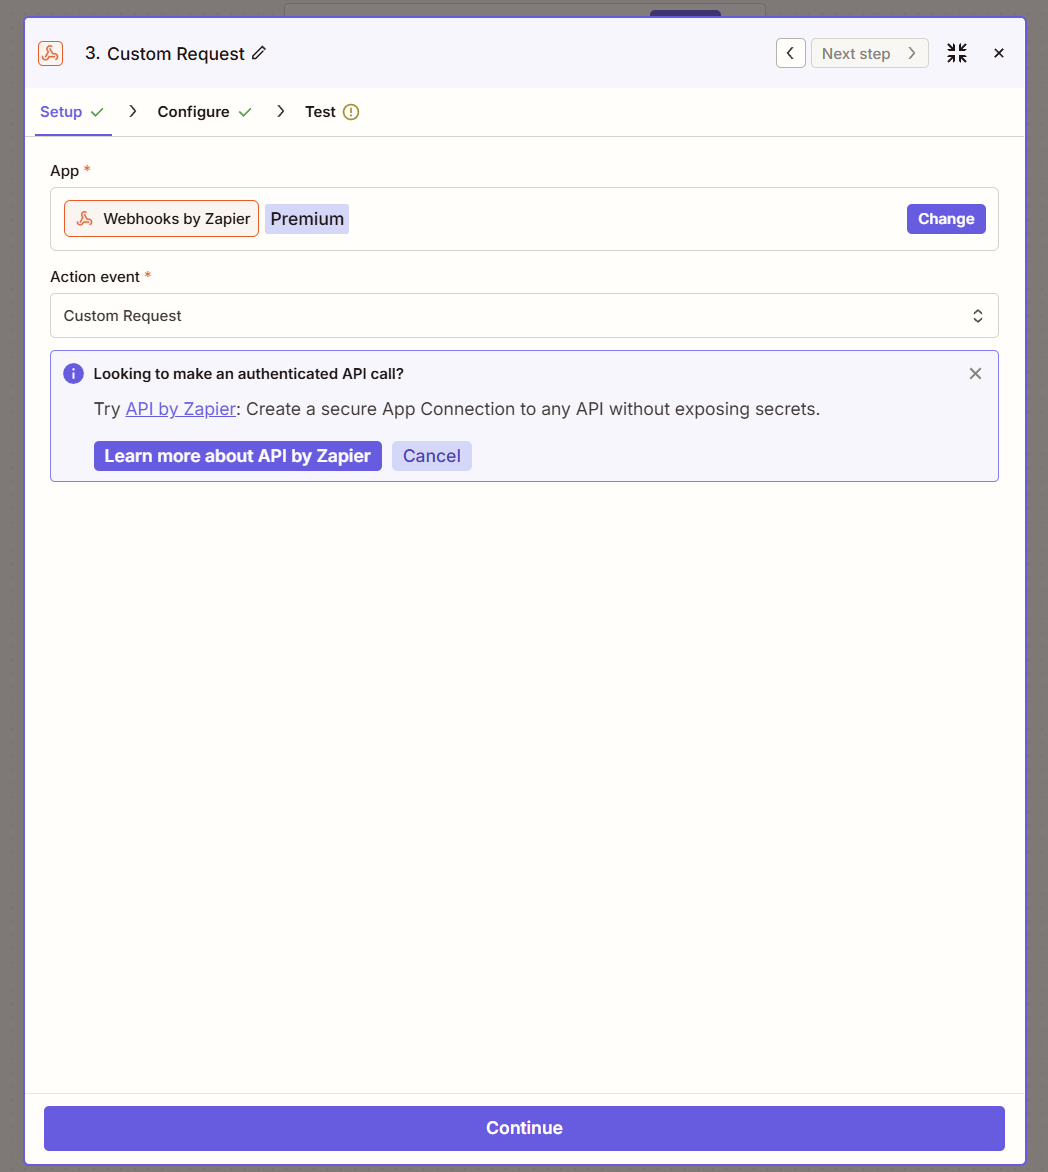
- Zap Type: Webhooks by Zapier
- Action Event: Custom Request
- Method: POST
- URL:
https://notifications.payhelm.com/api/order
- Data Pass-Through? False
- Data: Your formatted JSON payload
- Unflatten? Yes
- Headers:
Content-Type: application/jsonX-API-Key: {Your PayHelm API Key}
Save the step, and your Zap is ready to start sending data straight into your PayHelm account.
Before You Turn It On
We recommend running a handful of test sends before fully enabling your Zap. Trigger a few sample records, confirm they land correctly in PayHelm, and double-check that fields like order totals, line items, and timestamps are mapping the way you expect. Once you're confident it's clean, flip the Zap on and let it run.
Why This Matters
Every data source you connect — native integration or custom Zapier webhook — feeds the same unified analytics engine. That means your attribution models, profit reporting, and AI-powered insights work across your entire business, not just the channels we support directly. If you're running a custom stack, a niche platform, or a hybrid setup, Zapier webhooks close the gap so nothing falls outside your PayHelm dashboard.
See all PayHelm integrations →